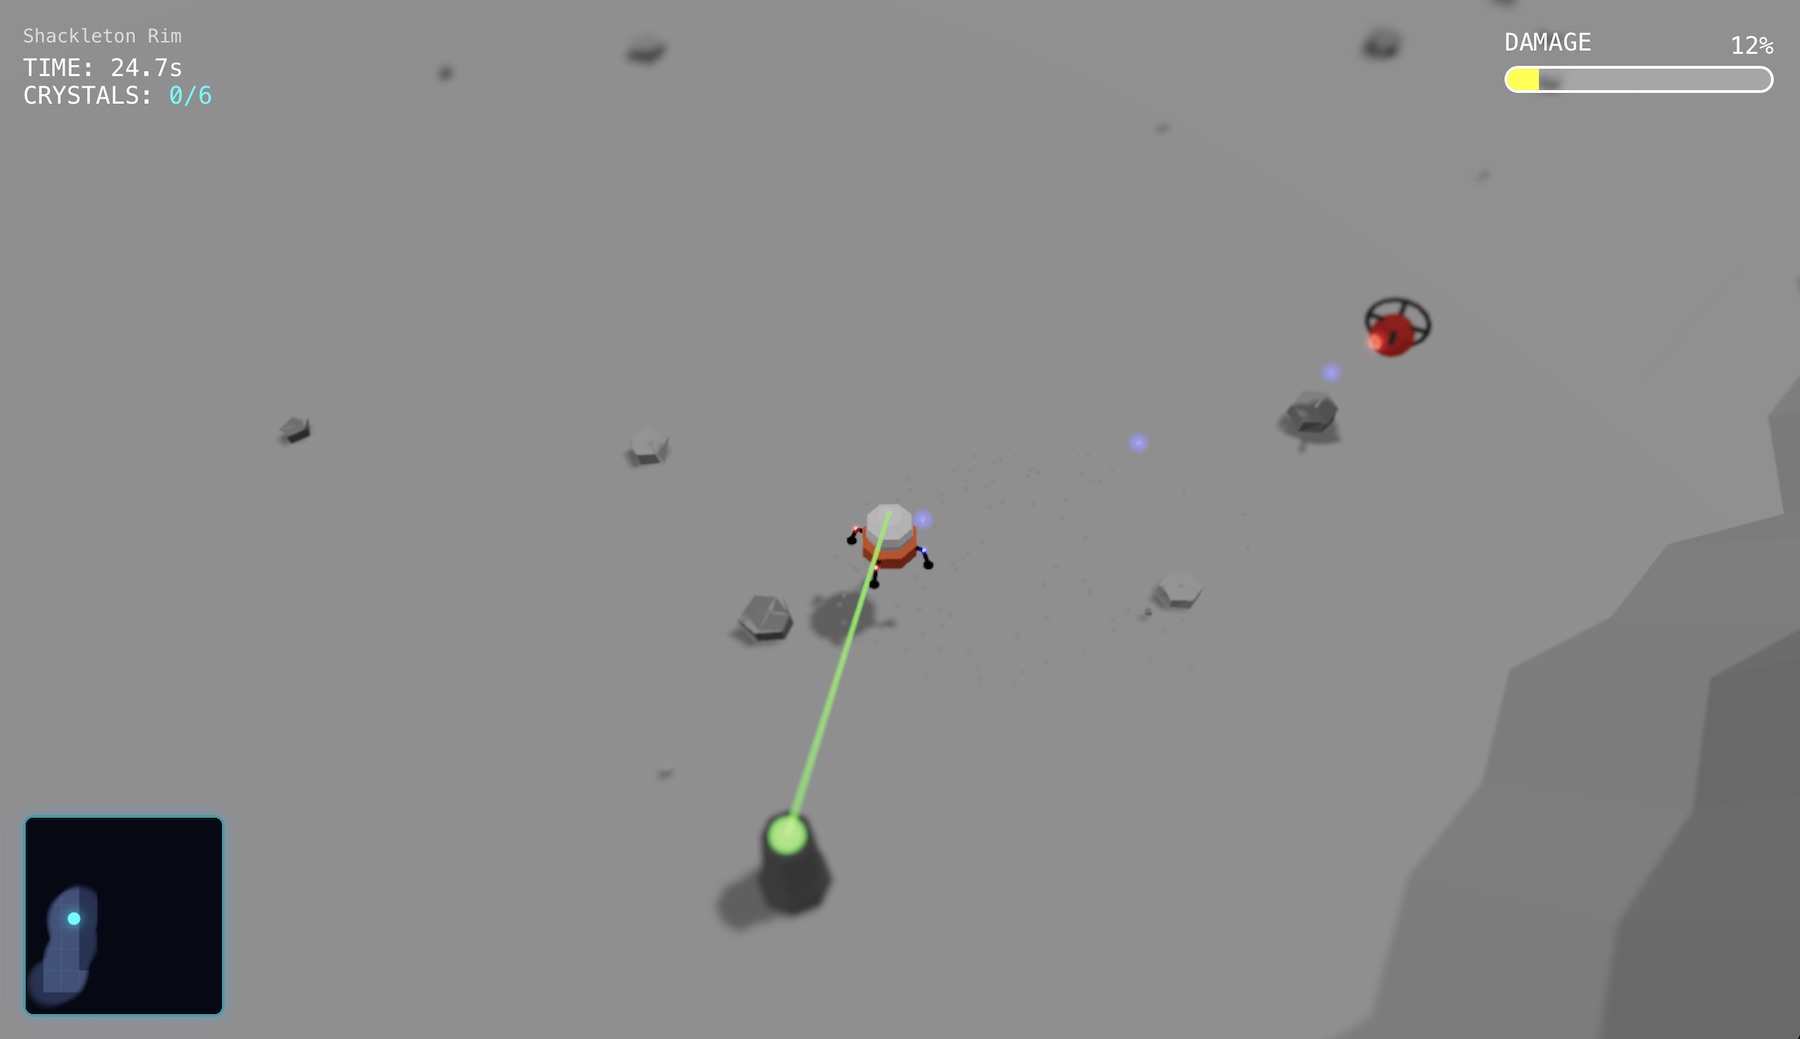
Lunar Valley is a browser game I’ve been building on and off since the end of December.
The premise is piloting a lunar lander through various moon craters, collect crystals, and shoot at a variety of enemy ships and installations along the way.
The whole thing is React Three Fiber on top of three.js, with Rapier handling physics and Zustand holding game state.
I want to walk through the parts that were most interesting to build, including the level builder I put on its own branch back in January. That branch is why there are ten levels now instead of three.
Flying the lander
The lander is a Rapier rigid body and every input is an impulse rather than a position change, which is where the floaty handling comes from. It also took longer to tune than anything else here.
The controls mimic remote control drones, with the arrow keys providing forward and back tilt and yaw. The “A” and “D” key provide left and right tilt. The combo of all these plus the drifty physics allows for some pretty fancy maneuvering.
Speed is clamped at 15 units per second. Without this you could build enough momentum down a straight corridor to pass through a wall before the collider caught it.
The visual tilt is deliberately separate from the physics, so the model leans a bit toward whichever way you’re thrusting and lerps back to neutral when you stop. The rigid body underneath never tilts at all, which makes the directional physics much simpler.
How the maps are defined
Every level is a 2D array of numbers in a single config file.
A 5 is floor, 0 is empty space outside the level, the even numbers are wall edges and the odd numbers are corners.
The numbers are laid out like a number pad, so 8 is the top edge, 2 is the bottom, and 4 and 6 are the sides. Every corner sits on the key you’d point at to describe where it goes!
gridData: [
  // 0  1   2   3  4  5  6
  [0, 0,  7,  8, 8, 8, 9],
  [7, 8, -7,  5, 5, 5, 6],
  [4, 5,  5,  5, 5, 5, 6],
  [4, 5,  5, -3, 2, 2, 3],
  [1, 2,  2,  3, 0, 0, 0]
]
Negative numbers are convex corners, so -7 is the outside of a corner where the wall turns back on itself.
That’s what lets a level have a notch or an L shape instead of being a plain rectangle.
Where the obstacles live
Obstacles live in a separate list, each entry carrying a row, a column, a type, and an offset expressed as a percentage of the tile rather than in world units.
The percentages are there so I can nudge a rock around inside its tile without recalculating world coordinates every time a wall moves.
Adding a level builder
While the numpad style grid config is nifty, typing tile grids by hand was slow and I kept getting the corner pieces backwards.
After building the first three levels painstakingly, I switched gears and created a level builder tool within the same repo.
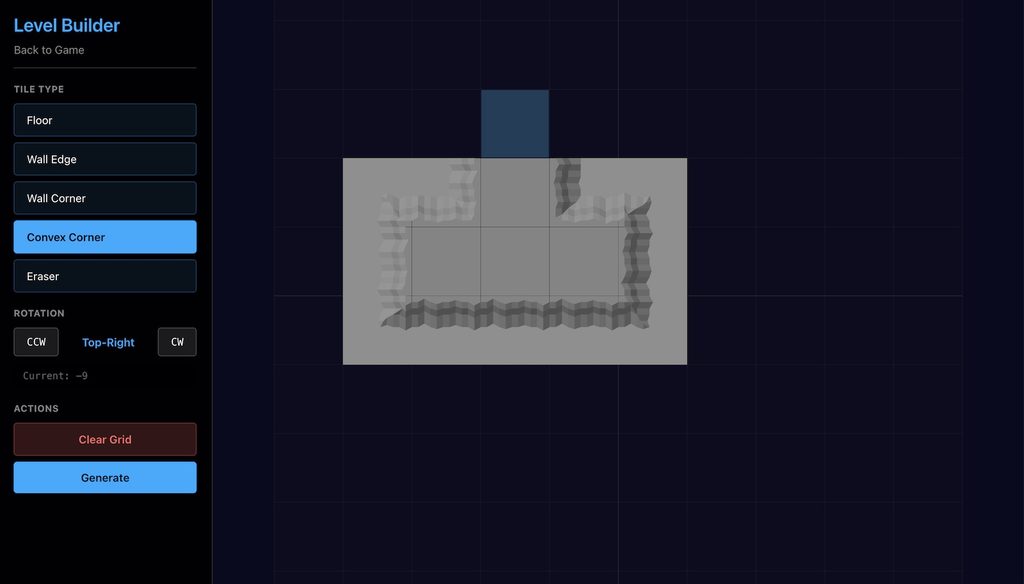
It imports the game’s own wall tile components and lunar surface material, so whatever you place is exactly what the game will render.
This gave me a visual way to create maps without much overhead, allowing a simple copy/paste of the grid array once I was happy with it.
The enemies
There are seven enemy types in the game now that appear progressively as levels get harder.
I tried to incorporate a variety of gameplay dynamics with each enemy, for example:
- The silo fires a tracking missile every 8 seconds that must be shot down or out-manuevered.
- The laser enemy locks on to the player and requires using walls and rocks for cover.
- Tracker drones roam around freely but will follow and shoot at you.
- Mortars target large blasts that just require you to keep moving.
The tilt shift pass
The scene renders through a tilt shift post-processing pass, which keeps a sharp horizontal band across the middle of the screen and blurs the top and bottom. It’s what makes a level read as a small physical model rather than a large empty moon.
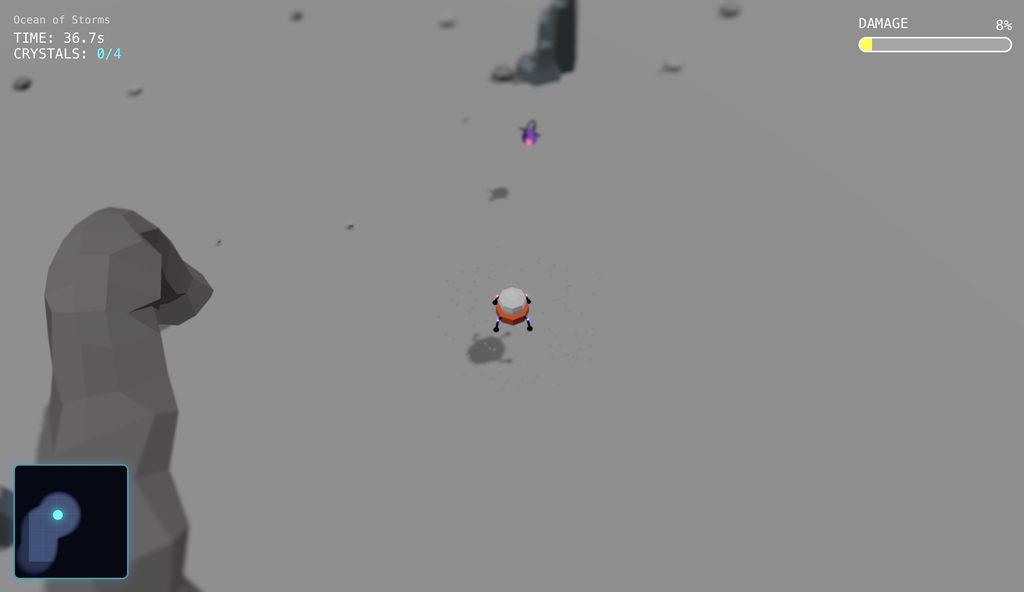
I built it with three.js’s own EffectComposer and the two tilt shift shaders that ship in the examples folder, rather than adding react-postprocessing. It’s two blur passes and an output pass, so I didn’t need the rest of the library.
This is a great opportunity for dynamic performance with graceful degradation, where if frame rate drops too much the tilt pass gets disabled, since its more of a nice-to-have enhancement than a critical part of the game.
Performance
The two biggest hits on framerate were the decorative floor rocks and the minimap, and both got fixed by pulling work out of the React render path.
Every floor tile scatters five to ten low poly rocks, which across a large level is several hundred meshes, so they’re batched into a handful of InstancedMeshes (one per geometry variant).
A seeded random places them, so they land in identical spots every time you replay a level.
Keeping the minimap out of React
The minimap draws to a canvas outside of React entirely, subscribing only to values that change once per level and reading the player position with getState() inside its own animation frame loop. The component never re-renders during play.
It keeps a fog layer that gets carved away as you explore and composites at roughly 20 frames a second instead of 60, which nobody is going to notice inside a 150 pixel square!
What’s next
A few features to take this to the next level: adding boost bar with pickups, a glitch effect on the HUD when you take a hit, and proper sound design with effects for the lander, enemies, collisions, etc.
Also, figuring out making this experience fun on mobile, perhaps using accelerometers to emulate the drone style piloting I’ve added on desktop.
In the meantime, enjoy!